
Applying a clear coat from an Aerosol Can is a fantastic way to protect and enhance your projects, whether it’s a car hood, a wooden tabletop, or a custom craft. But let’s face it—getting that mirror-like, showroom-quality finish often requires more than just spraying. Sanding and buffing are the secret sauce to elevating your clear coat from good to jaw-dropping. As someone who’s spent hours perfecting this process, I’m here to share the ins and outs of sanding and buffing aerosol-applied clear coat. We’ll cover techniques, toss in some handy tips, and wrap up with answers to common questions. Whether you’re a DIY rookie or a seasoned pro, this guide will help you achieve a flawless finish and make the most of your aerosol can clear coat.
Why Sand and Buff Your Clear Coat?
Sanding and buffing an aerosol-applied clear coat smooths out imperfections like orange peel, dust nibs, or minor runs, leaving a glossy, professional-grade surface. The process enhances clarity, boosts shine, and ensures your project looks polished—literally! It’s especially critical for automotive projects, where a sleek finish is non-negotiable, but it’s just as useful for furniture or crafts. The key is using the right techniques and tools, paired with a high-quality aerosol can that delivers a consistent spray. A well-designed aerosol valve ensures even application, setting the stage for successful sanding and buffing.
Step 1: Prepping for Sanding
Before you grab the sandpaper, make sure your clear coat is fully cured. Most aerosol can clear coats take 24-48 hours to cure, depending on temperature and humidity—check the can’s instructions to be sure. Rushing this step is a recipe for disaster, as sanding a tacky surface can ruin your finish.
Start with a clean workspace. Dust is your enemy, so wipe down the surface with a tack cloth or a lint-free rag dampened with mineral spirits. Gather your materials: wet/dry sandpaper (1000-2000 grit), a sanding block or pad, a bucket of water with a few drops of dish soap, and a clean microfiber cloth. The soapy water lubricates the sandpaper, reducing scratches and keeping the surface cool.
Pro Tip: If you’re working on a large surface like a car panel, tape off adjacent areas with painter’s tape to avoid accidental scratches. For smaller projects, a steady hand and a light touch are your best friends.
Step 2: Wet Sanding the Clear Coat
Wet sanding is the cornerstone of a smooth clear coat. Start with 1000-grit wet/dry sandpaper for initial leveling, especially if you’re dealing with orange peel or drips. Soak the sandpaper in soapy water for 5-10 minutes to soften it, then wrap it around a sanding block for even pressure. Sand in straight lines or gentle circles, keeping the surface wet to avoid clogging the paper. Work in small sections, rinsing the surface frequently to check your progress.
Once the surface feels smooth and imperfections are gone, switch to 1500-grit, then 2000-grit sandpaper for a finer finish. Be patient—rushing or pressing too hard can cut through the clear coat and expose the base layer. If you’re new to this, practice on a scrap piece sprayed with the same aerosol can to get a feel for the process.
Insider Secret: To prevent sandpaper from clogging, add a drop of dish soap to your sanding water every few minutes. This keeps the surface slick and extends the life of your sandpaper, saving you a trip to the store.
Step 3: Buffing for That Mirror Shine
After sanding, your surface will look hazy—don’t worry, that’s normal! Buffing brings back the shine. Use a dual-action polisher or orbital buffer with a foam polishing pad for best results. Apply a small amount of polishing compound (avoid abrasive ones for the first pass) to the pad and work in 2×2-foot sections. Set the polisher to a low speed (around 1200-1500 RPM) and use light pressure, letting the machine do the work.
For extra gloss, follow up with a finishing polish and a soft foam pad. Wipe the surface with a microfiber cloth to remove residue, and inspect under good lighting. If you spot swirl marks, switch to a finer polish and buff again. For hand buffing, use a microfiber applicator pad, but expect more elbow grease and time.
Quick Hack: If you’re buffing in a dusty garage, lightly mist the floor with water to trap airborne particles. This keeps your freshly buffed clear coat free of pesky dust specks.
Choosing the Right Aerosol Can
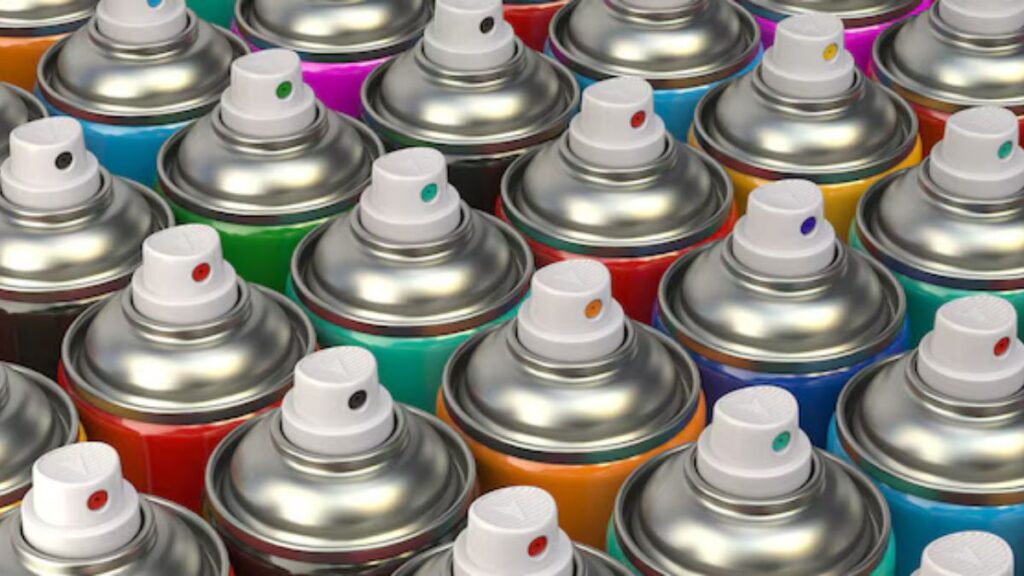
Not all aerosol cans are created equal, and the quality of the can impacts your sanding and buffing results. A high-quality aerosol valve delivers a consistent, even spray, reducing runs and orange peel that require extra sanding. For automotive projects, choose a clear coat with UV resistance and high gloss. For wood or crafts, a flexible formula prevents cracking during sanding. Reliable suppliers, like those offering premium aluminum aerosol cans at Aerosol Can, ensure cans meet the demands of consistent performance, which is a lifesaver for businesses scaling up production.
Troubleshooting Common Issues
If your clear coat feels rough after sanding, you may have used too coarse a grit—step up to 1500 or 2000 grit and try again. Swirl marks after buffing? Switch to a softer pad and a finer polish. If the clear coat peels or lifts, you likely didn’t let it cure fully before sanding, or there was contamination on the surface. Sand it back and reapply from a fresh aerosol can.
Frequently Asked Questions (FAQ)
- How long should I wait before sanding my clear coat?
Wait 24-48 hours for the clear coat to fully cure. Check the aerosol canlabel for specific curing times, as humidity and temperature can affect this. - Can I sand and buff matte clear coats?
Sanding and buffing matte coats will add shine, which defeats their purpose. Stick to glossy or satin coats for this process. - Why is my aerosol can spraying unevenly?
Uneven spray often comes from a clogged or low-quality aerosol valve. Clean the nozzle by spraying upside down until only propellant comes out. For consistent results, source cans from suppliers with high-quality valves to meet demand. - Do I need a polisher, or can I buff by hand?
Hand buffing works but takes more time and effort. A dual-action polisher gives faster, more consistent results, especially on large surfaces. - How do I avoid cutting through the clear coat while sanding?
Use light pressure, keep the surface wet, and check your progress often. Start with finer grits (1000 or higher) to minimize the risk.
Final Thoughts
Sanding and buffing an aerosol-applied clear coat is the key to unlocking a professional, glass-like finish. With the right prep, techniques, and a quality aerosol can, you can transform your project from decent to dazzling. Take your time, use the right tools, and don’t skimp on the curing process. Whether you’re refinishing a car or polishing a piece of furniture, these steps will help you master the art of clear coat perfection. So grab your sandpaper, fire up that polisher, and let your project shine!